Email Fundraising Guide for Teachers
Step 1: Gather Your Email Contacts
Before you start writing your fundraising email, make a list of who you’re going to email, and separate your contacts into two categories if necessary: your personal network, vs. local businesses, organizations, and groups.
Email List #1: Your Personal Network
Do you have friends, family members, and acquaintances who may want to support your classroom? Gather their contact information into a list so you remember to email them.
If you know people who want to help your classroom, but don’t have the funds to give, ask them if they have friends, family members, or coworkers who may want to help. See if they would be willing to email their networks about supporting your classroom. Be sure to provide them with language they can use to describe your classroom needs, and how their donations will help.
Email List #2: Local Businesses, Organizations, and Groups
Teachers are in the spotlight, and there are many businesses, organizations, and groups that are willing to donate to or fundraise for a local classroom during this challenging school year.
Do some research to gather email addresses for businesses in your community, such as insurance companies, grocery stores, mortgage lenders, dentists, etc. Their donation on AdoptAClassroom.org is tax-deductible, which will give them extra incentive to help.
You can also look into local groups like parent teacher organizations, chambers of commerce, rotary clubs, and other members of the community.
Step 2: Pre-Write Your Emails
To save time, write your fundraising email in a word document that you can use later when you’re ready to start sending emails to the contacts you’ve gathered.
You’ll want to pre-write at least two separate emails for different audiences that you can use as templates for when the time comes to send your emails. One of your pre-written emails should be written specifically for your personal network of friends and family, and the second should be for local businesses and groups.
If you’re not sure how to start, use our templates for inspiration.
Step 3: Personalize Your Emails and Send
The pre-written emails you prepared in step two should never be sent as-is; these are only templates to help save you time. The more you personalize your email to each person, business, or group you reach out to, the more likely you are to receive a donation from them.
Step 4: Follow-up with a Thank You
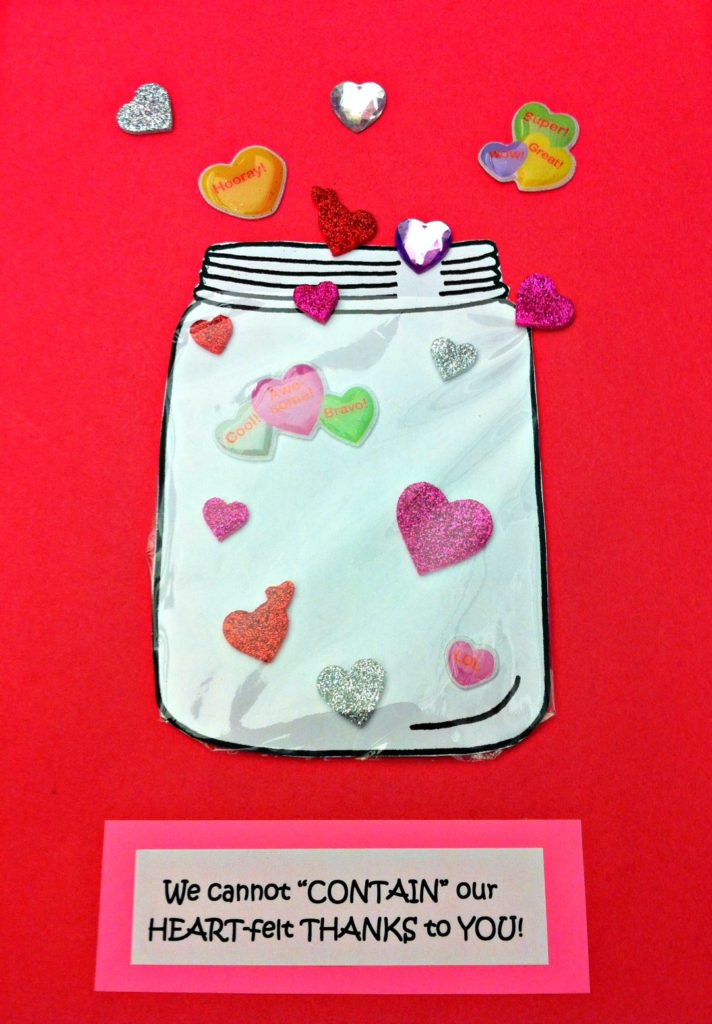
Whether a donor gives $10 or $500, make sure to send them a personalized thank-you email. We recommend including a photo of the supplies you purchased to show them exactly what their donation provided for your classroom and students. Thank you notes from your students are also appreciated by donors.
Thanking your donor is not only a nice thing to do that will make them feel good about their gift, it also helps you build a relationship with that donor, and may inspire them to give again. You can also thank your donor on social media so others can see their generosity!

Raise your hand to learn more.
Subscribe to AdoptAClassroom.org updates.
Sign up to learn more.
Sign up to receive information about AdoptAClassroom.org.